One of the most effective ways to keep track of your schedule and make sure you’re on time to all of your meetings, appointments, and other events is with a meeting room schedule display that allows you to see at a glance who will be attending, when they will be there, and how long they have reserved the room for. Not only does this clear up any confusion you might have about your daily activities, but it makes sure that you don’t arrive late because you misread the schedule or forget about an important meeting altogether.
The Benefits Of Having A Meeting Room Scheduling Board:
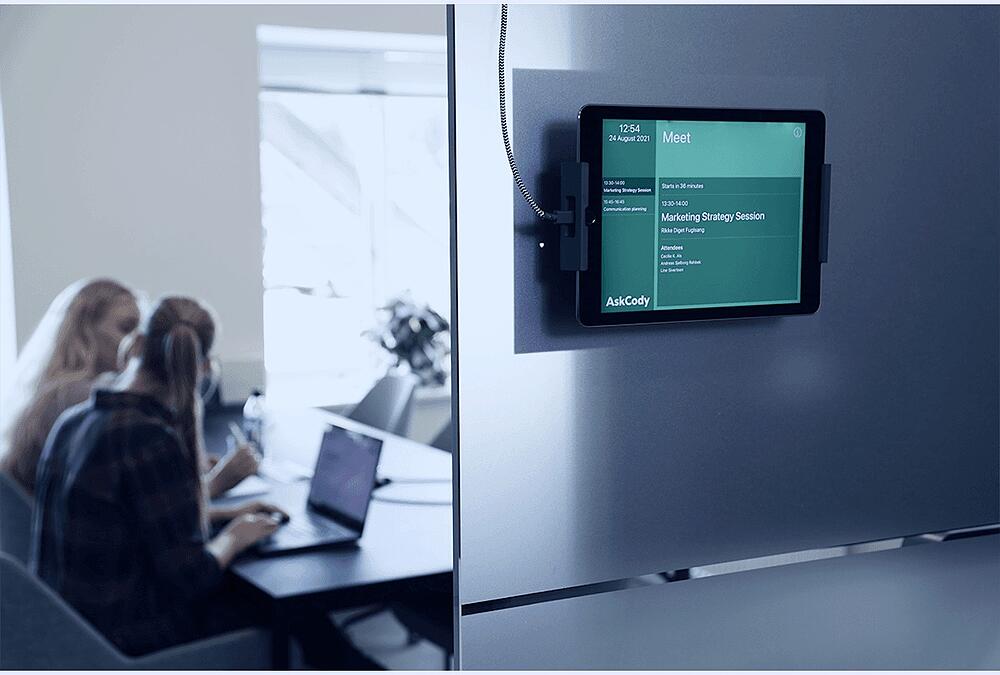
Too many meetings at work? It’s time to install a meeting room schedule display. A meeting room scheduling board is the perfect way to keep track of your upcoming events and help you stay on top of your workload. This year, there are plenty of innovative new displays to choose from, so make sure you select one that fits your office needs. With a meeting room schedule display, it’s easy to see when and where you have events scheduled in advance. Plus, it will help ensure that you don’t have any conflicts with other employees or clients. And lastly, having a clear view of your upcoming schedule can also improve productivity by helping you know when it’s time for breaks. So what are you waiting for?
How To Set Up The Board?
This post will cover how to set up a board for your meeting room. You’ll need one dry erase board and one marker, plus the following supplies:
- 3×5 cards or index cards
- Clear packing tape
- Paper clips or binder clips
Where To Find Things On The Board:
The Meeting Room Schedule Display board is a free resource for anyone looking to stay organized. Whether you’re managing an office, a conference room, or just your household – the Meeting Room Board can help you better plan and manage your schedule. It’s designed to give people a visual representation of their day and make it easier to visualize where they should be at any given time. The board is divided into squares that correspond with the hours of the day and these are then divided into 15-minute increments. For example, between 10 am and 11 am there are two squares on the board, both with 30 minutes in them. This means that between 10 am and 11 pm there will be two meetings scheduled back-to-back in this meeting room.
How To Use The Board Effectively?
Step 1. Create a Meeting Roster for your company. This list should include the date and time of each meeting, as well as the person in charge of running it. Step 2. Find a room that is available for your business to use for meetings. Depending on the type of business you have, this may be a conference room or it could be an office with multiple desks in it. Step 3. Place the Meeting Roster on the wall where everyone in your office can see what’s going on and when they need to be in a meeting room.
Tips For Maximizing Space On The Board:
- Use as much space on the whiteboard as possible. The more room you have, the better. – Try to schedule your meetings for a set time each day, or at least a certain day of the week. This will allow you to fill in your board with the days that are free so you can work in chunks when those hours come up. – Spend an extra few minutes after each meeting cleaning off any extra information from the board–especially if it’s not related to future meetings. This will help you save valuable space and make sure that future meetings can be planned out easily and quickly.
Using The Board As An Organizational Tool:
The Board is a free software tool to help you manage your day more effectively. The Board makes it easy to see all of your meetings and other events, no matter where or when they are. Plus, it gives you the ability to create tasks, share those tasks with others, and assign those tasks to the appropriate people. Here’s how it works: – Add a new task by clicking on Add Task in the sidebar – Type in the name of the person or group that will take care of this task – Drag and drop your task into one of the 3-time slots (morning, afternoon, evening) – Click on Save changes